If you’re looking for a fresh approach to lead generation, Pinterest might be the untapped goldmine you’ve been searching for.
With over 450 million monthly active users who come to the platform with purchase intent, Pinterest offers a unique opportunity to connect with potential customers at the exact moment they’re looking for solutions.
Unlike traditional social media posts that fade into obscurity within hours, Pinterest pins continue generating leads for months or even years after publication.
This step-by-step guide will walk you through the entire process of using Pinterest pins to build a consistent lead generation system for your business.
Step 1: Set Up Your Pinterest Business Account
Before you can start generating leads, you need the right foundation. A Pinterest business account gives you access to analytics, advertising tools, and features that personal accounts don’t have.
Action steps:
Go to pinterest.com/business/create and set up your free business account.
If you already have a personal account, you can convert it to a business account in your settings.
Choose a profile name that clearly represents your business and is easy to remember.
Upload a high-quality profile photo, preferably your logo, sized at 165 x 165 pixels.
Write a keyword-rich bio that explains what you offer and who you help. Include your target keywords naturally, such as “helping small businesses with digital marketing” or “providing organization solutions for busy moms.”
Add your website URL to your profile. This is the link Pinterest will verify, establishing your credibility on the platform.
Claim your website by adding a meta tag or uploading an HTML file to your site.
This verification process gives your pins a profile picture and displays them more prominently in search results.
Once verified, enable rich pins, which automatically pull metadata from your website to provide more context and information on your pins.
Step 2: Research Your Audience and Keywords
Pinterest functions as a visual search engine, which means keyword research is crucial for getting your pins discovered by the right people.
Action steps:
Start by identifying your ideal customer’s pain points and interests.
What are they searching for?
What problems are they trying to solve?
Use Pinterest’s search bar to explore related keywords.
Start typing a broad term related to your niche and note the auto-complete suggestions that appear. These are actual searches people are conducting on the platform.
Analyze successful pins in your niche by searching for relevant keywords and examining the top results.
What do these pins have in common?
What language do they use?
What visual style resonates?
Create a master list of 20-30 keywords and phrases that your target audience is likely searching for.
Include both broad terms like “meal planning” and specific long-tail keywords like “meal planning for busy working moms.”
Check Pinterest Trends to see what’s currently popular in your niche and identify seasonal opportunities. This tool shows you search volume over time, helping you plan your content calendar strategically.
Step 3: Create High-Converting Lead Magnets
Your pins need to lead somewhere valuable.
Lead magnets are free resources you offer in exchange for email addresses, and they’re the bridge between Pinterest traffic and your email list.
Action steps:
Develop lead magnets that solve specific problems your Pinterest audience is searching for. Popular formats include checklists, templates, workbooks, guides, resource lists, and mini-courses.
Ensure each lead magnet is directly related to the topics you’ll be creating pins about. If you’re pinning about home organization, your lead magnet might be a “Room-by-Room Decluttering Checklist.”
Create dedicated landing pages for each lead magnet. These pages should be simple, focused, and free from navigation distractions.
Include a compelling headline that clearly states the benefit, 3-5 bullet points explaining what’s included, an eye-catching image of the lead magnet, and a prominent email opt-in form.
Set up your email marketing automation to deliver the lead magnet immediately after sign-up and follow up with a welcome sequence that nurtures new subscribers toward your paid offerings.
Step 4: Design Eye-Catching Pins
Your pin design is what stops scrollers in their tracks. Pinterest is a visual platform, so your graphics need to stand out while clearly communicating value.
Action steps:
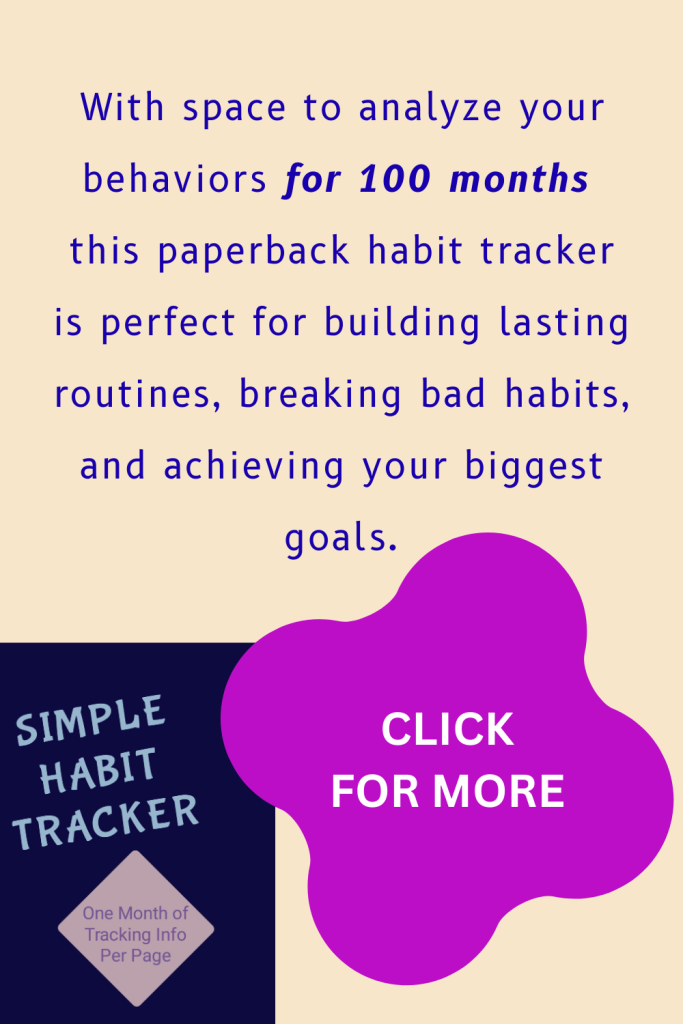
Use the optimal pin size of 1000 x 1500 pixels (2:3 aspect ratio). Vertical images perform significantly better than horizontal ones on Pinterest.
Choose a design tool like Canva, Adobe Express, or Tailwind Create. These platforms offer Pinterest-specific templates to streamline your design process.
Create a consistent visual brand by using the same color palette, fonts, and style across your pins. This helps users recognize your content instantly.
Include text overlay on every pin that clearly states the benefit or solution you’re offering. Make this text large, bold, and easy to read on mobile devices. Aim for 5-7 words maximum.
Use high-quality images as your background. You can use stock photos from sites like Unsplash or Pexels, or create custom graphics.
Ensure your images are clear, bright, and relevant to your content. Add your logo subtly in the corner to build brand recognition without overwhelming the design.
Create multiple pin designs for each piece of content. Test different color schemes, fonts, images, and text variations to see what resonates best with your audience.
A single blog post can have 5-10 different pin designs linking to it.
Step 5: Write Compelling Pin Descriptions
Your pin description serves two critical purposes: it helps Pinterest’s algorithm understand and categorize your content, and it convinces users to click through to your site.
Action steps:
Start with your primary keyword in the first sentence. This signals to Pinterest what your pin is about and improves its discoverability in search results.
Write 2-3 paragraphs (or about 200-500 characters) that expand on the benefit shown in your pin image. Explain exactly what users will learn or gain by clicking through.

Incorporate 3-5 related keywords naturally throughout your description. Avoid keyword stuffing; your description should read naturally and provide genuine value.
Include a clear call to action that tells users exactly what to do next. Use phrases like “Click to download your free guide,” “Get the full tutorial,” or “Grab your free checklist now.”
Add 3-5 relevant hashtags at the end of your description. While hashtags aren’t as powerful on Pinterest as on other platforms, they can provide a small boost in discoverability. Use specific hashtags related to your content rather than generic ones.
Step 6: Create Strategic Boards
Boards organize your pins into categories and help Pinterest understand your content themes. Well-organized boards also encourage users to explore more of your content.
Action steps:
Create 10-15 boards that cover different aspects of your niche and align with your target keywords. For example, if you’re in the fitness niche, you might have boards for “Home Workouts,” “Healthy Recipes,” “Fitness Motivation,” and “Weight Loss Tips.”
Write keyword-rich board titles that clearly communicate the topic. Keep them concise but descriptive.
Craft detailed board descriptions (at least 150 characters) that incorporate multiple related keywords. Explain what users will find on the board and why they should follow it.
Organize your boards strategically on your profile by dragging your most important boards to the top. These should align with your primary lead generation topics.
Create at least one board for each of your main lead magnets or content pillars.
Pin a variety of content to each board, including your own pins and relevant pins from other creators. This positions you as a helpful resource rather than purely self-promotional.
Step 7: Implement a Consistent Pinning Schedule
Consistency is crucial for Pinterest success. The algorithm rewards accounts that pin regularly with increased visibility.
Action steps:
Aim to publish 5-10 fresh pins per day. “Fresh pins” means new pin designs, even if they link to existing content on your website.
Spread your pinning throughout the day rather than publishing everything at once.
This gives you more opportunities to appear in users’ feeds.
Use a scheduling tool like Tailwind, Planoly, or Pinterest’s native scheduling feature to plan your content in advance. This ensures consistent activity even when you’re busy.
Follow the 80/20 rule: 80% of your pins should be your own original content linking back to your website or lead magnets, while 20% can be high-quality pins from other creators in your niche.
Repin your top-performing content to different relevant boards.
A pin about meal planning can go on your “Healthy Eating,” “Time Management,” and “Family Dinner Ideas” boards.
Create seasonal pins in advance. If you have content about holiday planning, summer activities, or back-to-school tips, create and schedule these pins 45-60 days before the peak season.
Step 8: Monitor Analytics and Optimize
Data-driven decisions separate successful Pinterest strategies from mediocre ones. Pinterest Analytics provides invaluable insights into what’s working and what isn’t.
Action steps:
Check your Pinterest Analytics weekly to track key metrics including impressions, saves, clicks, and click-through rate.
Identify your top-performing pins by sorting by outbound clicks. These are the pins successfully driving traffic to your website and lead magnets.
Analyze what these successful pins have in common in terms of design, colors, text overlay, keywords, and topics.
Double down on what works by creating more pins similar to your top performers. If pins about a specific topic are generating lots of clicks, create more content on that subject.
Test one variable at a time to understand what drives results. For example, create two versions of the same pin with different colors, then compare performance.
Monitor your website traffic from Pinterest using Google Analytics. Set up UTM parameters on your pin links to track which specific pins are converting to email subscribers. Review your conversion rates from Pinterest traffic.
If you’re getting lots of clicks but few email sign-ups, the problem might be your landing page rather than your pins.
Step 9: Scale with Pinterest Ads
Once you’ve identified which pins and topics generate the best results organically, amplify your success with Pinterest ads.
Action steps:
Start with a small daily budget of five to ten dollars to test the waters. Pinterest ads can be more cost-effective than Facebook or Google ads for certain niches.
Promote your best-performing organic pins first. These have already proven they resonate with your audience, reducing your risk.
Use Pinterest’s targeting options to reach your ideal audience.
You can target by demographics, interests, keywords, or create custom audiences based on your website visitors.
Choose the “traffic” or “conversions” campaign objective depending on whether you want to drive clicks to your landing page or optimize for email sign-ups.
Create dedicated pins specifically for advertising that have strong calls to action and lead directly to your highest-converting lead magnets. Monitor your ad performance closely, focusing on cost per click and cost per conversion.
Pause underperforming ads and reallocate budget to winners.
Step 10: Integrate Pinterest into Your Marketing Ecosystem
Pinterest shouldn’t exist in isolation. Maximize your lead generation by connecting Pinterest to your other marketing channels.
Action steps:
Add Pinterest save buttons to all images on your website, especially within blog posts. This makes it easy for readers to share your content on Pinterest, expanding your reach. Embed your best-performing pins directly in relevant blog posts to encourage saves and clicks.
Promote your Pinterest account on other social media channels. Share your favorite boards or pins on Instagram Stories, Facebook, or LinkedIn to drive cross-platform traffic.
Include links to your Pinterest boards in your email newsletter, especially when you publish new content or create seasonal boards.
Create blog content specifically designed to rank in Google and drive traffic to Pinterest. For example, “50 Kitchen Organization Ideas” naturally lends itself to a Pinterest-friendly format.
Collaborate with other creators in your niche on group boards, which can expose your pins to larger audiences and drive more traffic to your lead magnets.
Taking Action
Pinterest pins offer a unique opportunity to generate leads from users who are actively searching for solutions you provide. Unlike fleeting social media posts, your pins work for you continuously, building momentum over time.
The platform’s visual search functionality and user intent make it ideal for attracting qualified leads who are genuinely interested in what you offer.
Start by implementing steps one through three this week. Get your business account set up, research your keywords, and create your first lead magnet.
Next week, tackle steps four through six by designing your pins, writing descriptions, and organizing your boards.
By week three, you’ll be ready to implement your pinning schedule and start monitoring results.
Remember, Pinterest success is a marathon, not a sprint. Consistency and optimization are your secret weapons.
Start small, track your results, and scale what works. Your future leads are already on Pinterest, searching for exactly what you offer.